How to create an instance of Spark Cluster in the KASI Science Cloud
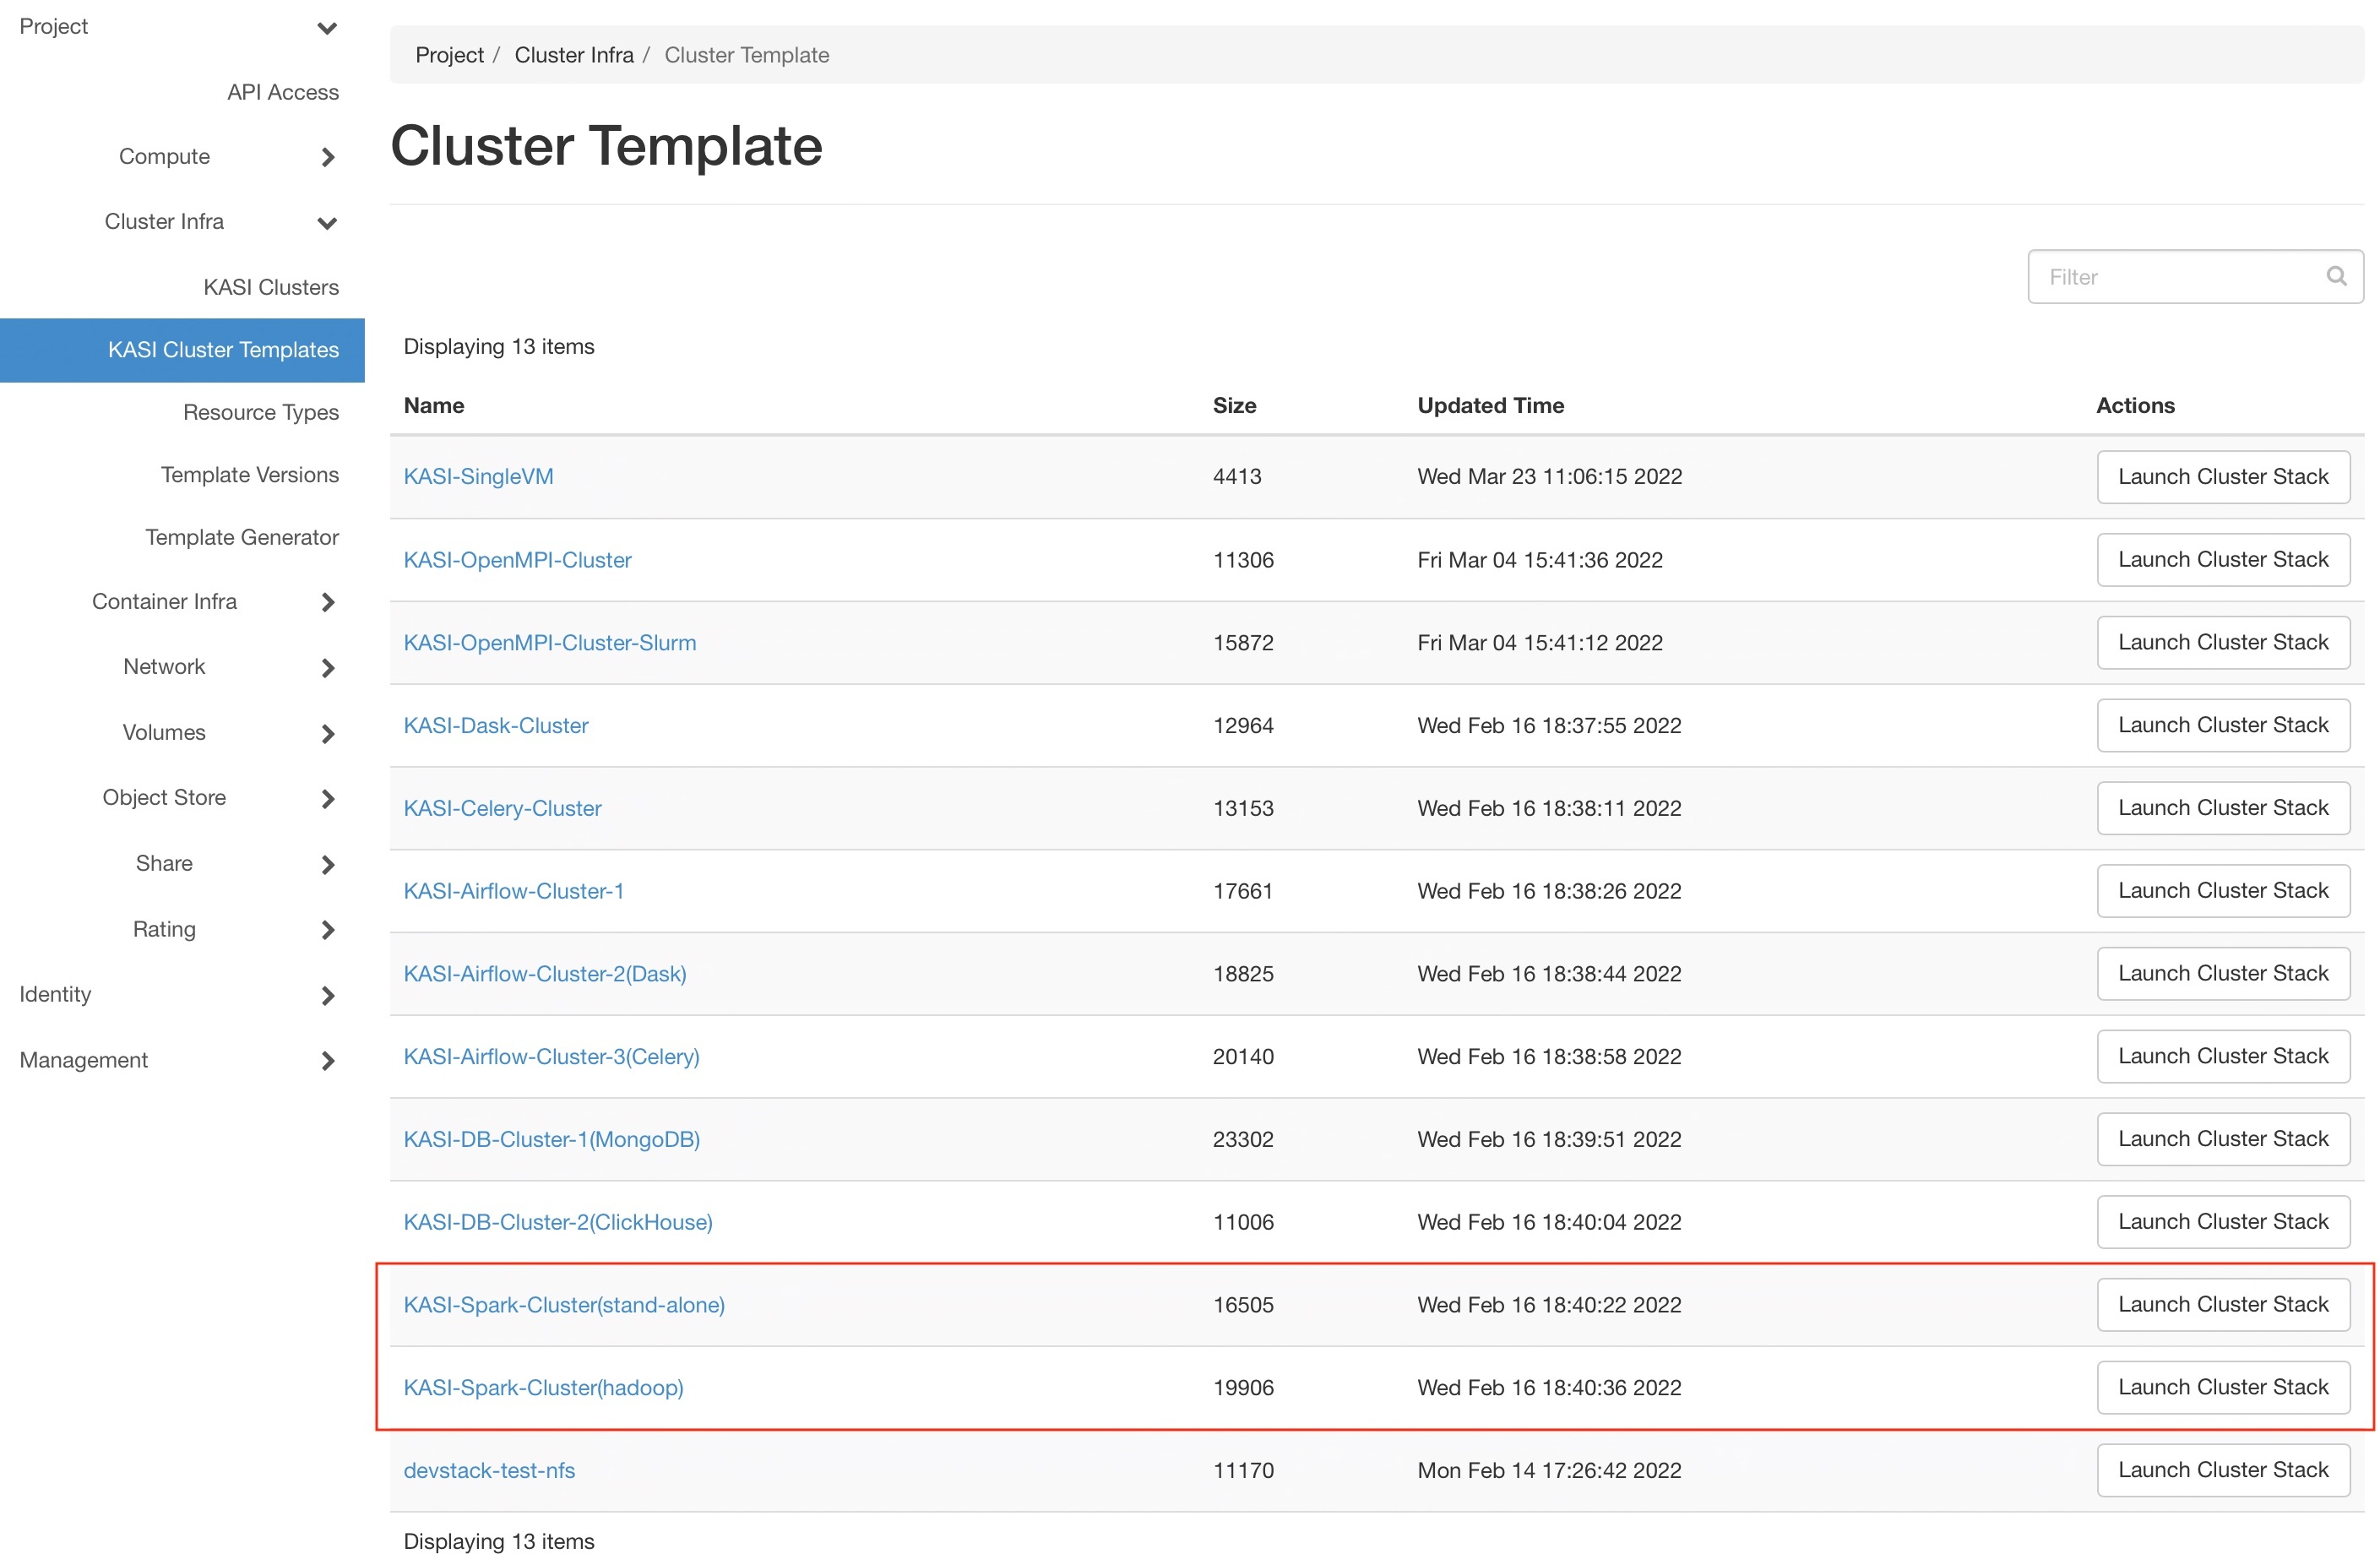
- Step 1 : Choose a spark cluster template
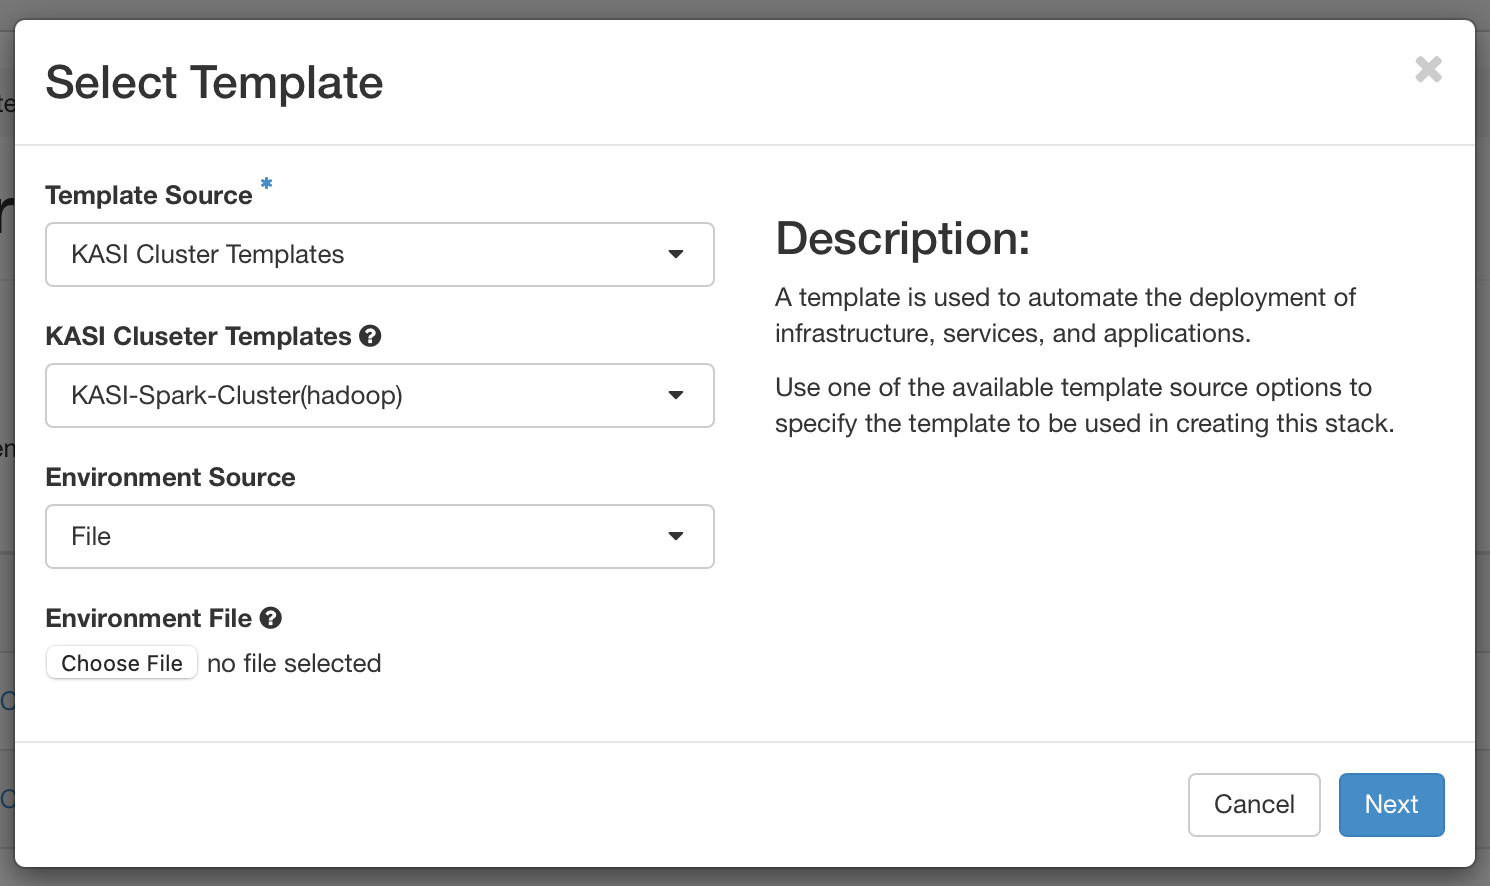
- Step 2 : Use the default settings in most cases
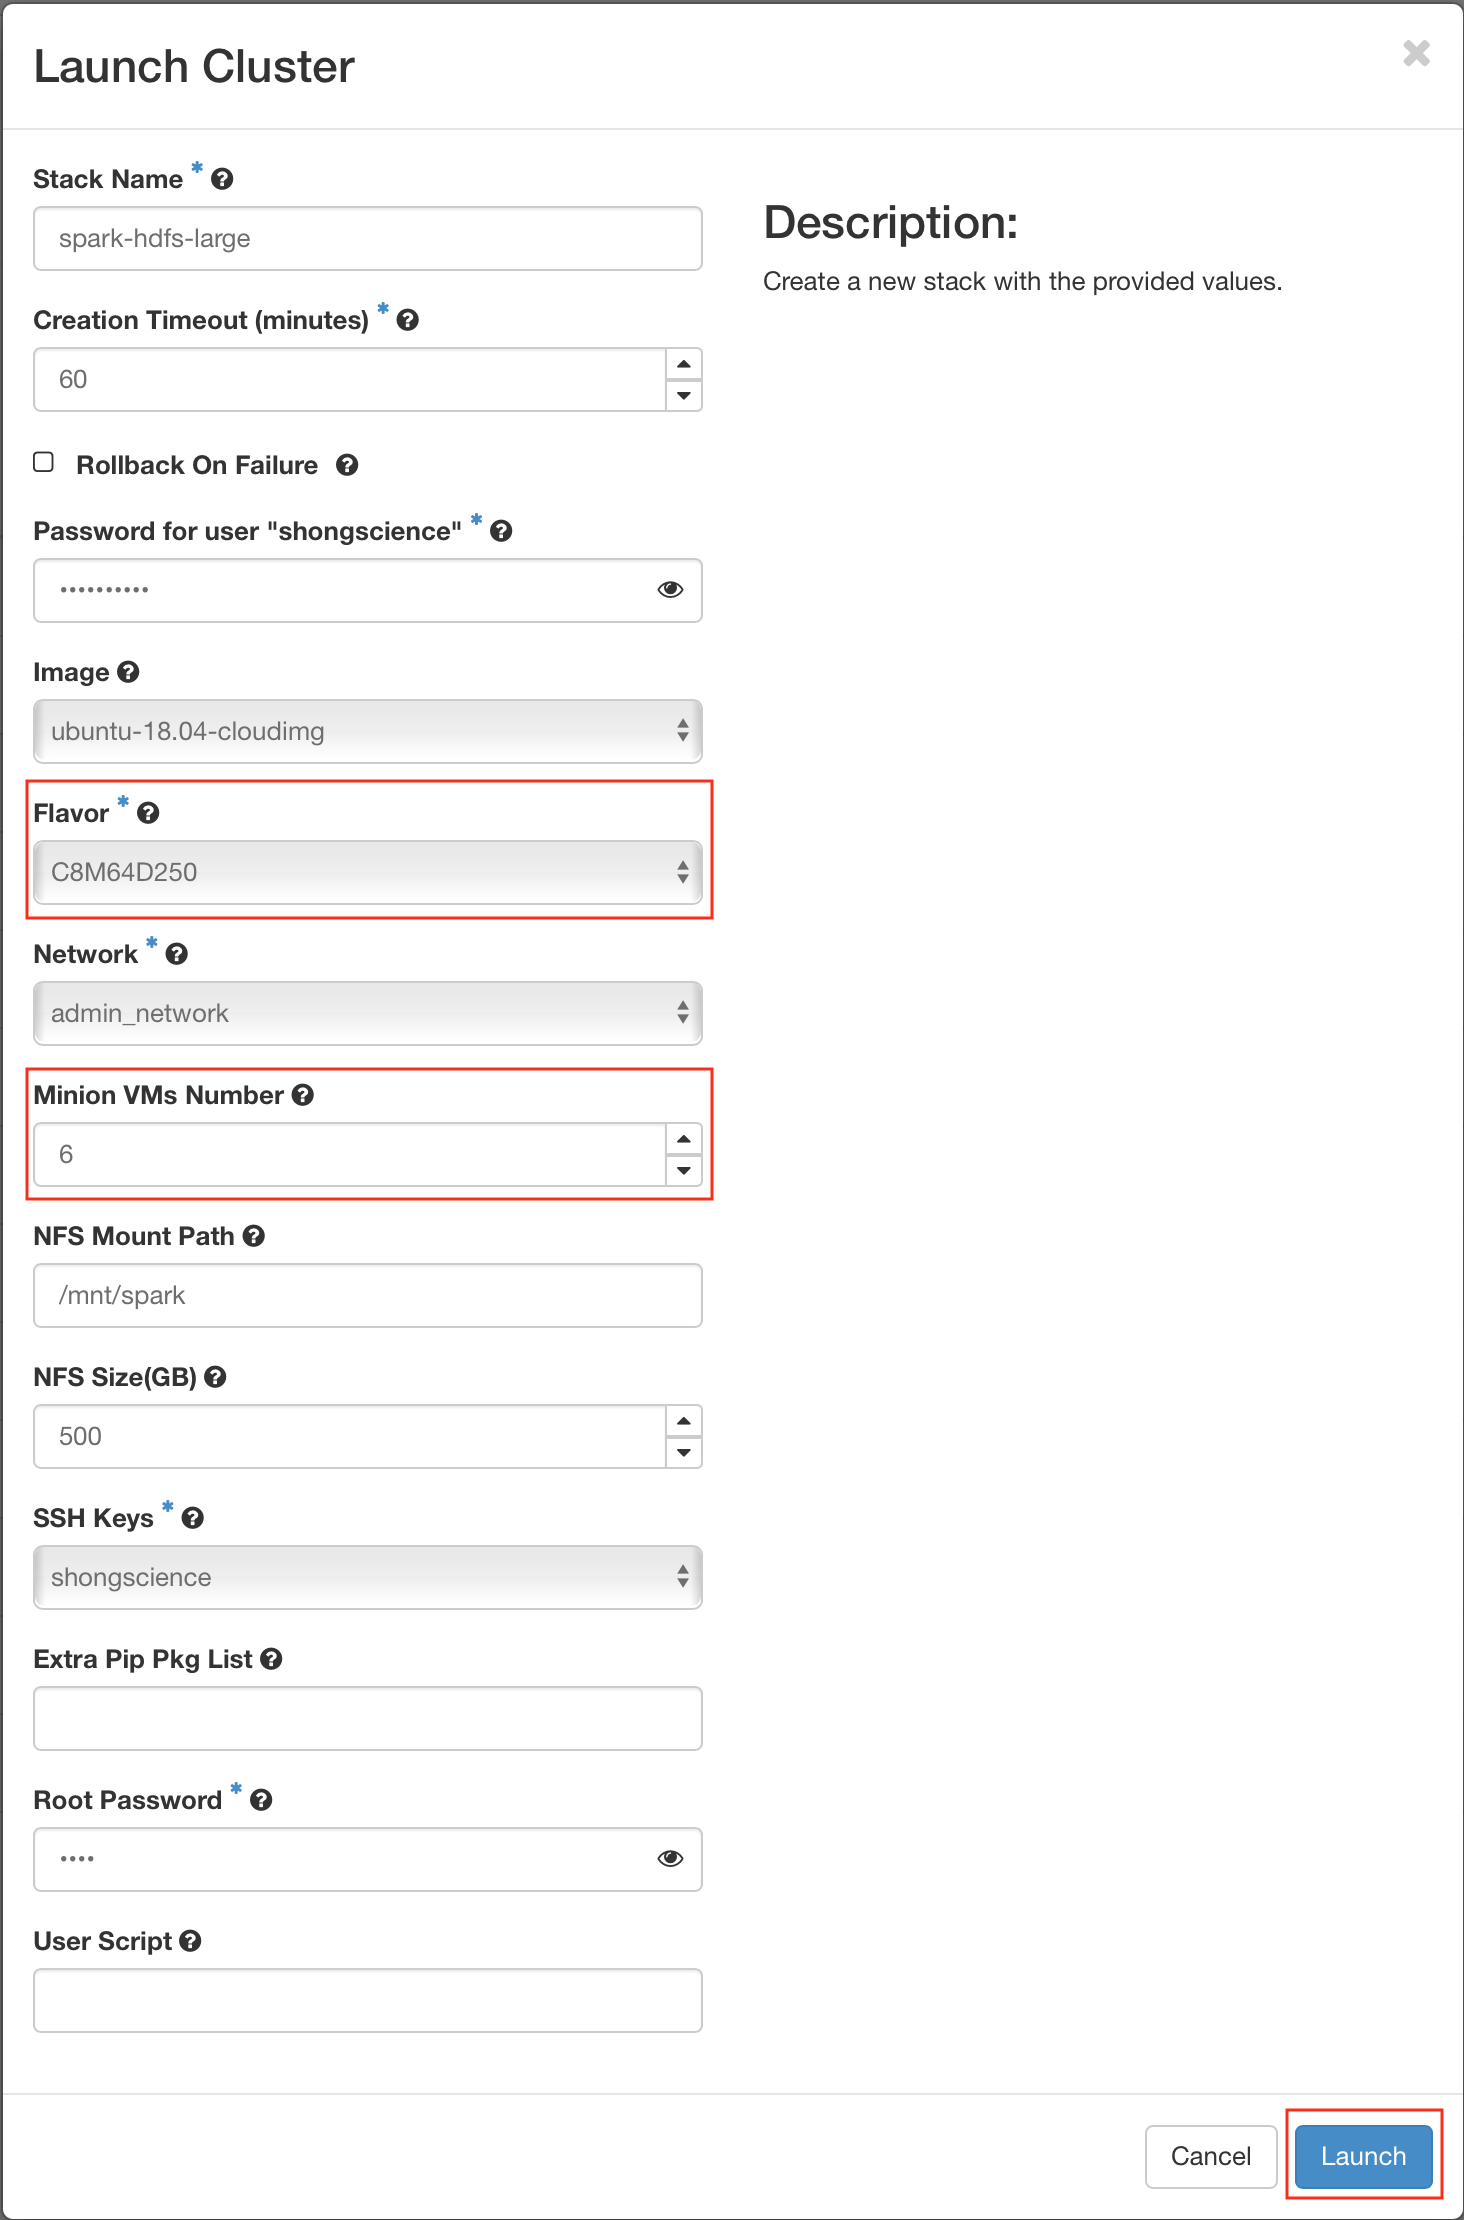
- Step 3 : Choose a flavor and Set the number of slaves (minons), then Create
Connect to the Master-Node and Run some basic scripts
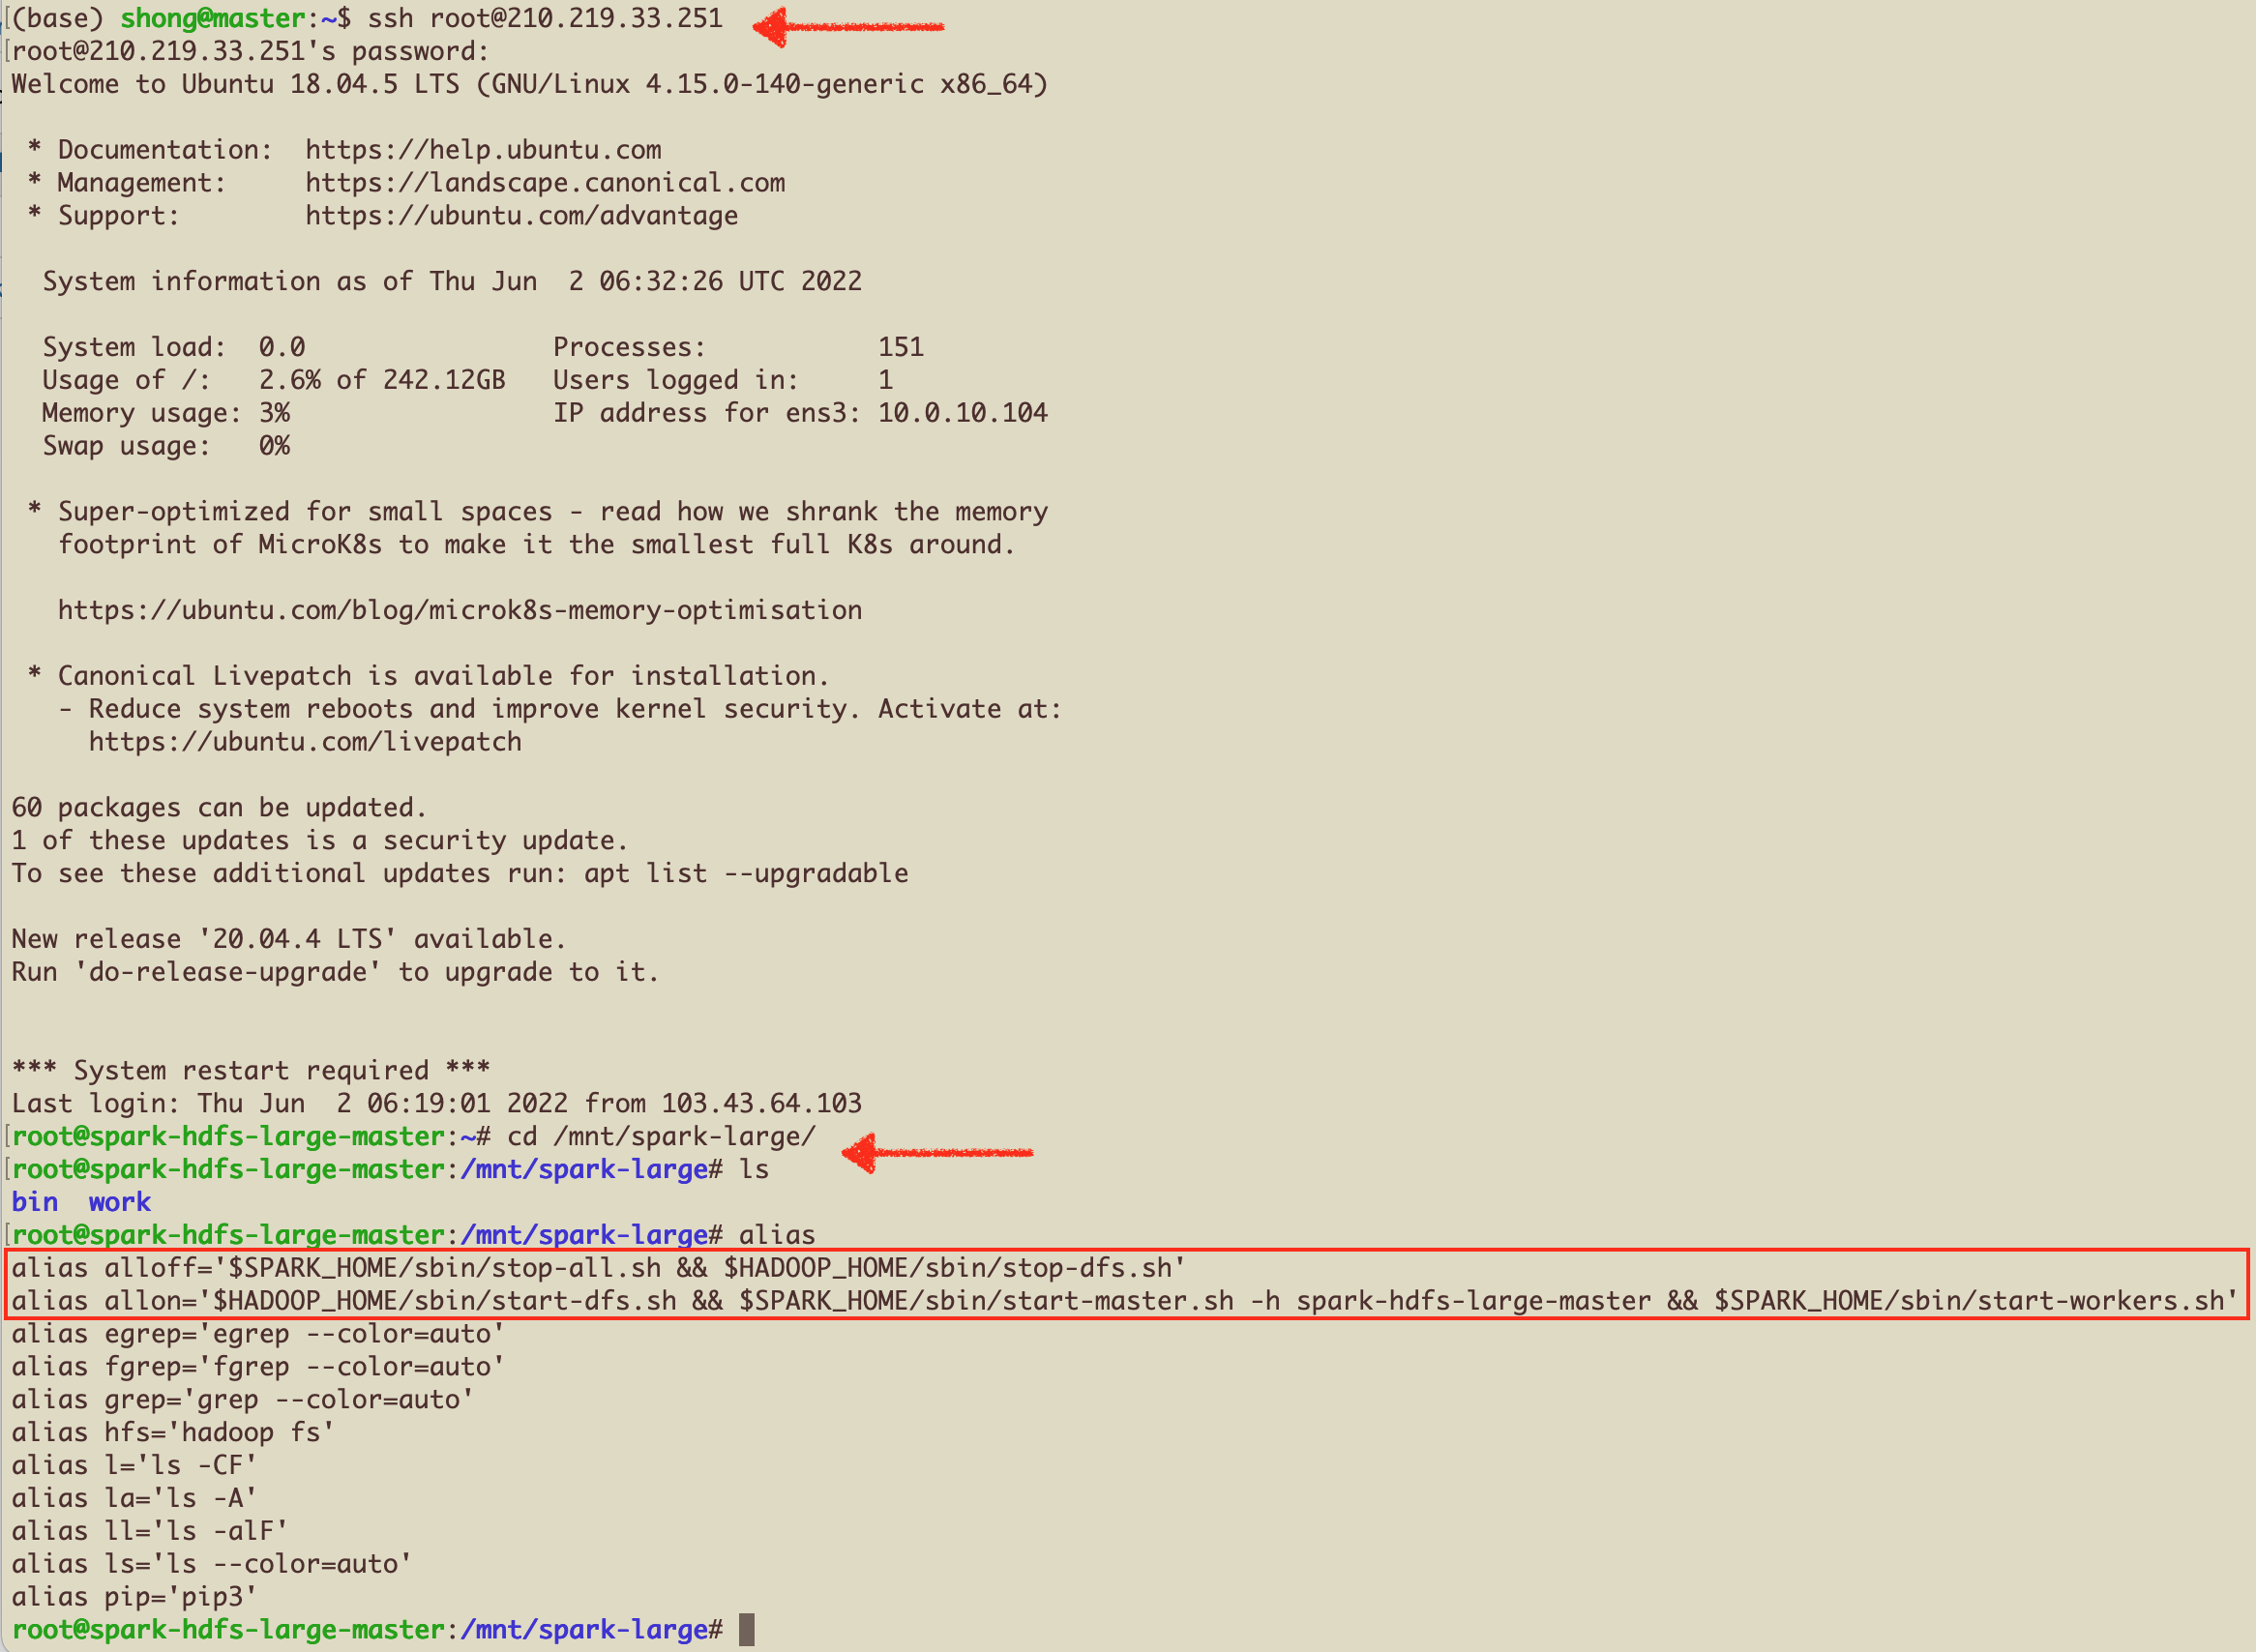
- root 으로 접속 후, nfs 디렉토리로 이동
alias를 확인해보면,allon과alloff명령어를 볼 수 있음. 이 명령어로 Spark+Hadoop Cluster를 Start/Stop 할 수 있음.
root 접속에 문제가 있다면,
/root/.ssh/authorized_keys 파일의 앞부분
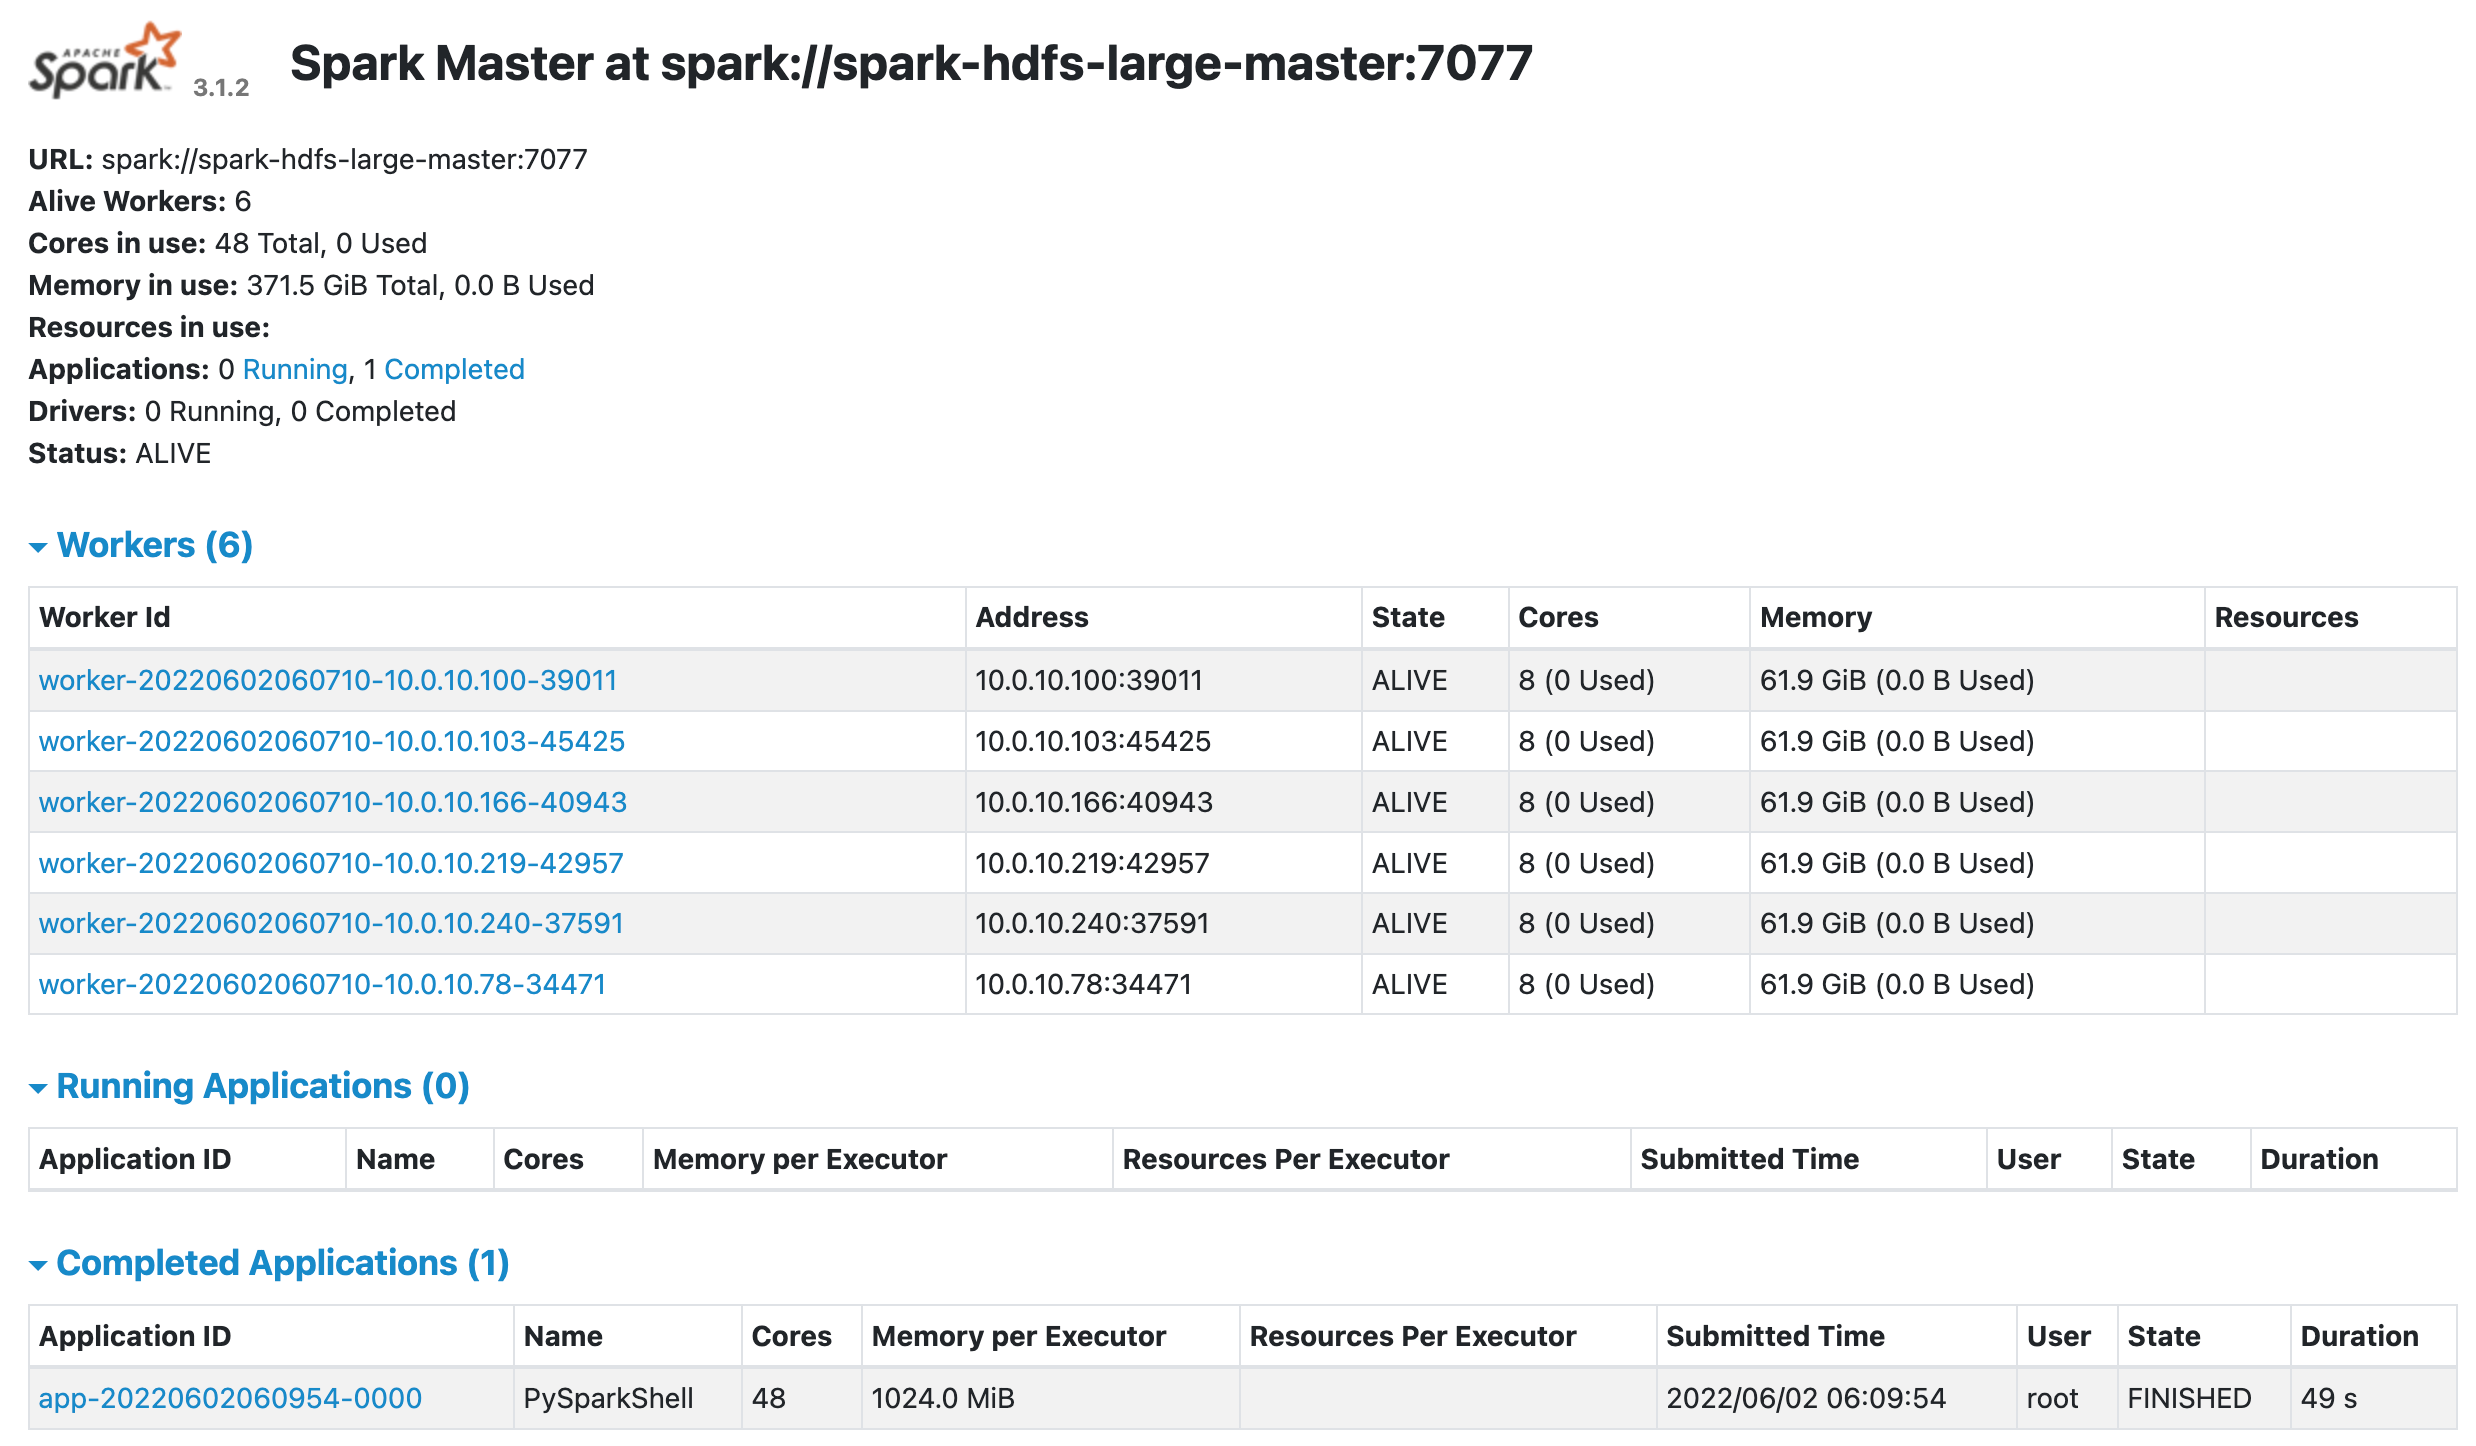
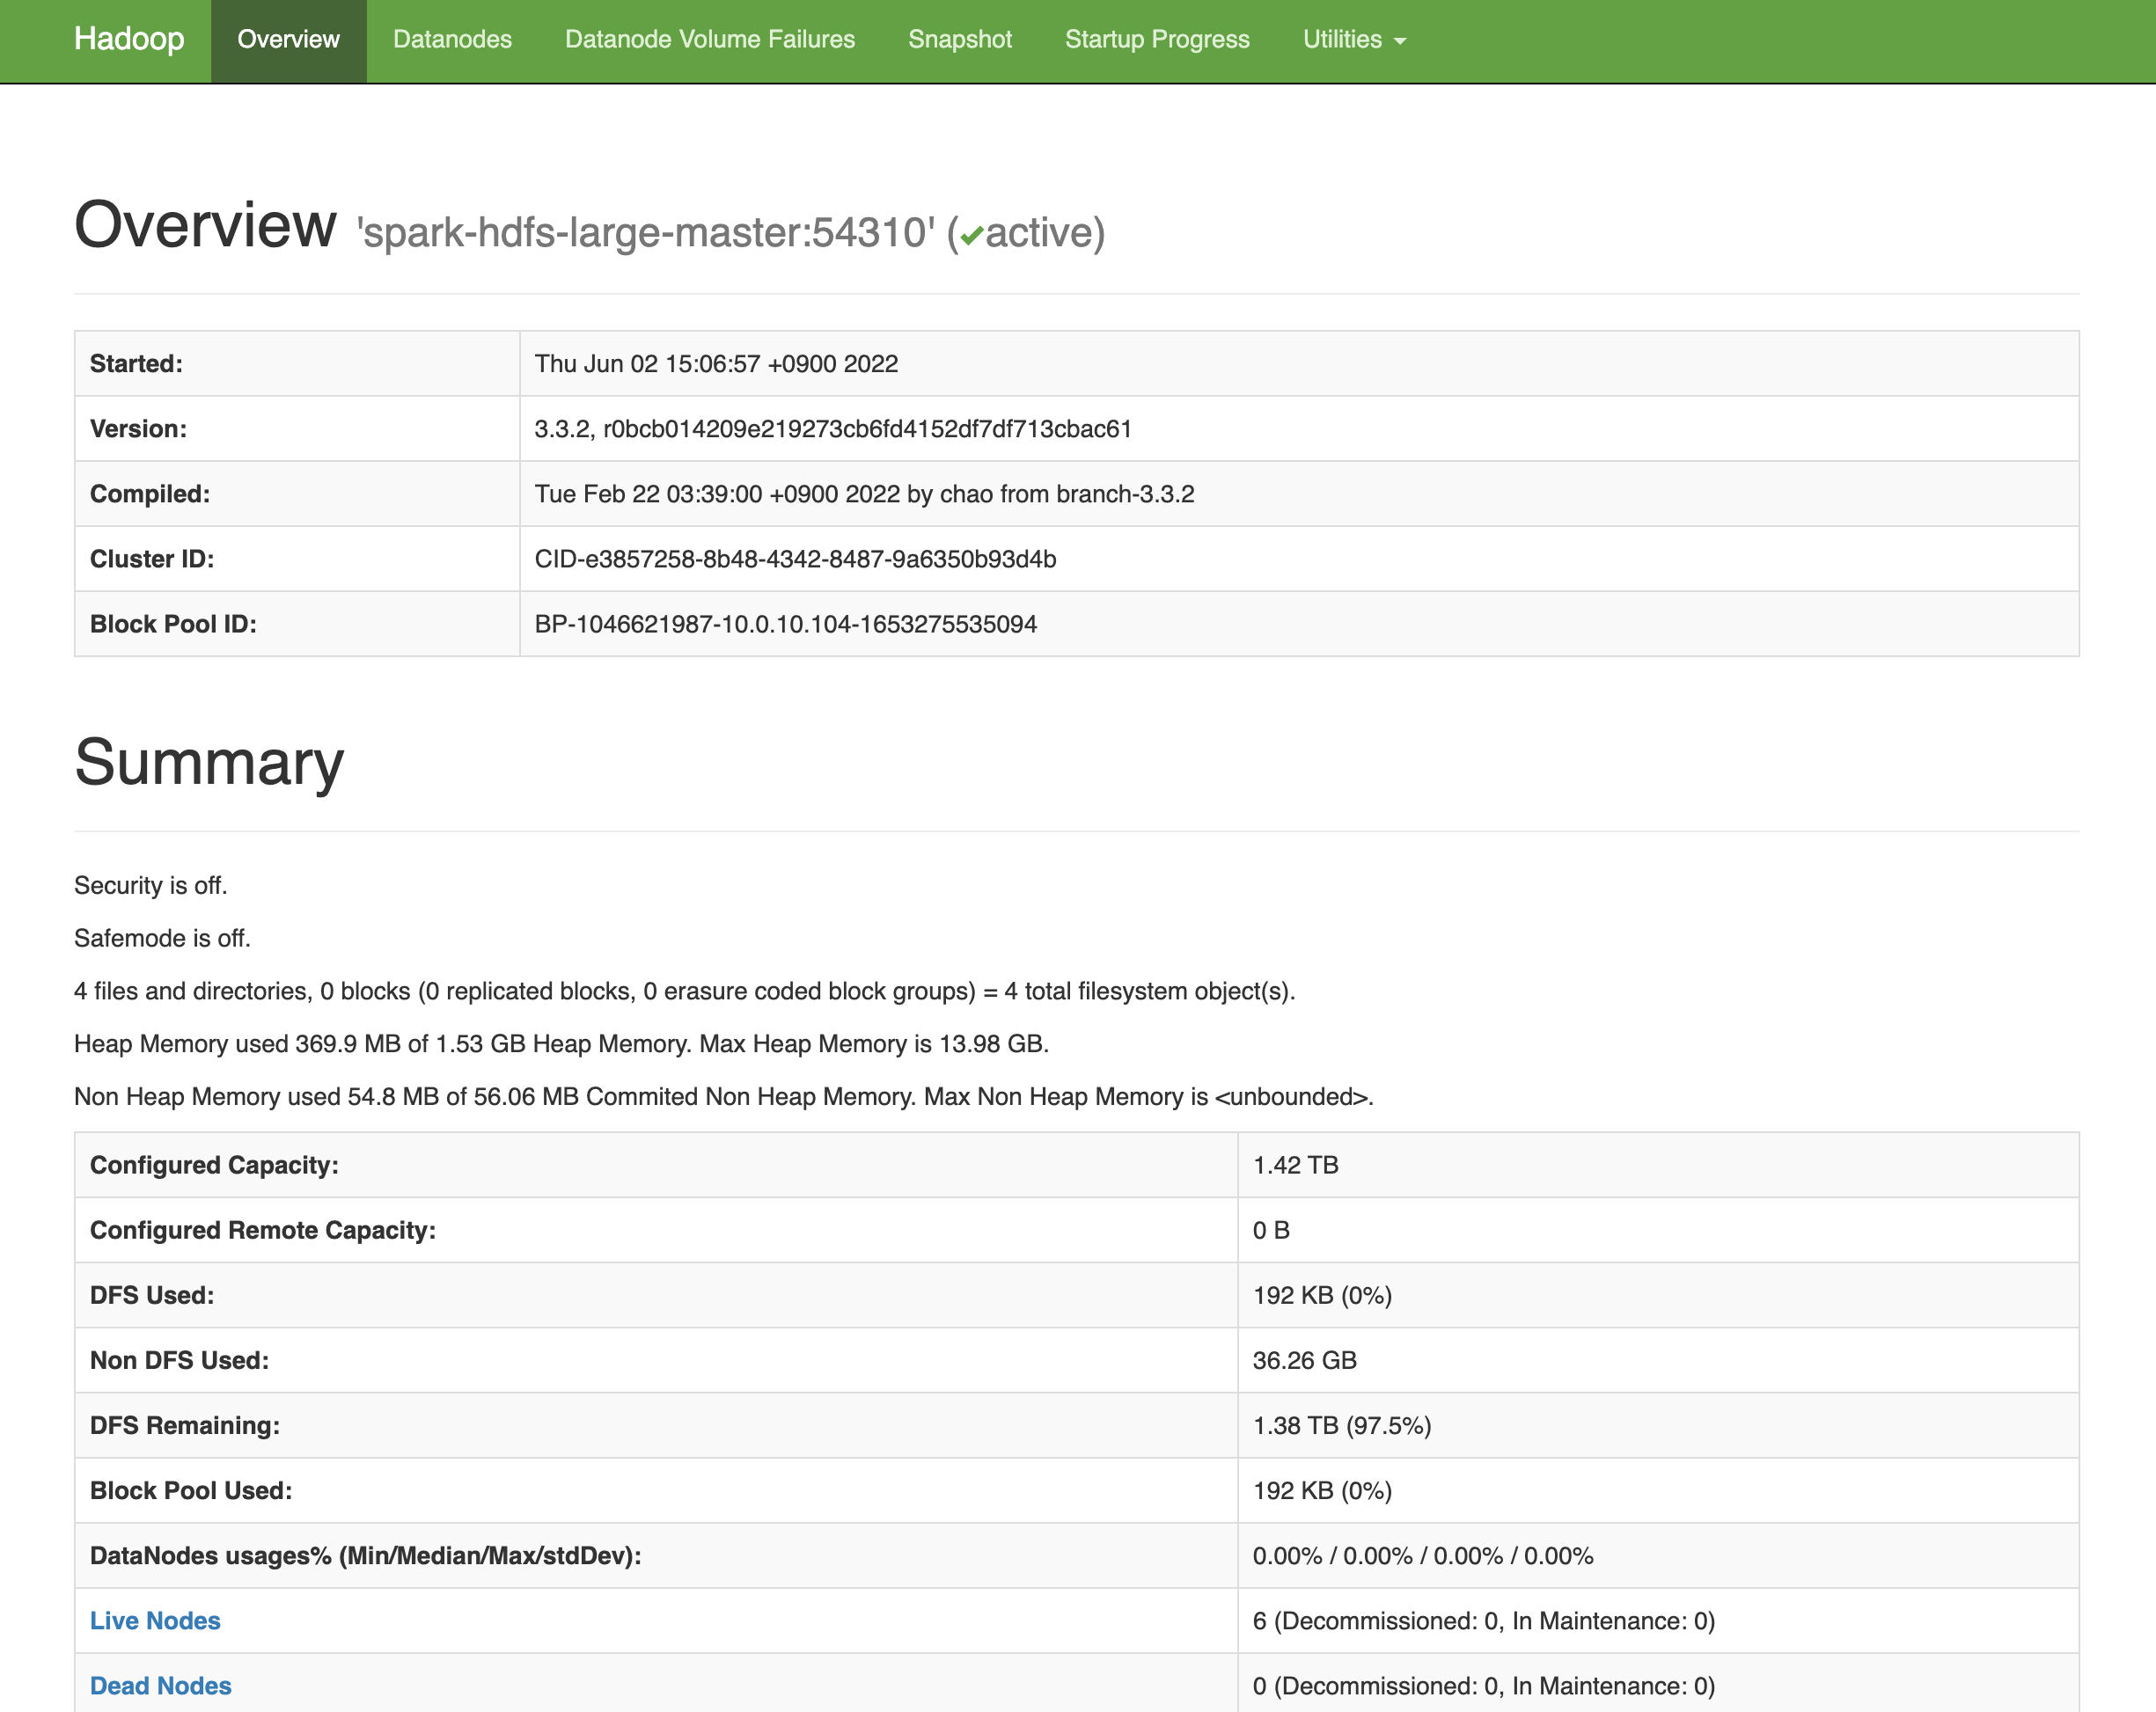
(no-port-forwarding,no-agent-forwarding,no-X11-forwarding,command="echo 'Please login as the user \"ubuntu\" rather than the user \"root\".';echo;sleep 10;exit 142" )을 삭제allon이 제대로 실행되었다면, http://master-node-ip:8080 와 http://master-node-ip:9870 에서 Spark와 Hadoop의 WebUI를 볼 수 있음.
여기까지 설정이 끝났으면,spark-submit을 이용한 script 실행이 가능함. Jupyter Notebook을 이용한 interacitve shell mode를 실행하려면, 아래 설명한 추가 설정이 필요함.
Example: Calculating Pi using pi.pyspark-submit --master spark://spark-hdfs-large-master:7077 ./pi.py
SparkUI
HadoopUIJupyter Notebook 설정:
우선,jupyter notebook password명령을 이용해서 패스워드 설정. (매번 생성되는 Token을 복사/붙여넣기하는 수고를 줄일 수 있음.)
그리고 Jupyter Notebook Server를 실행하는 Shell Script를 따로 생성함. 예제에서는run-jupyter-server.sh#!/bin/bash export PYSPARK_PYTHON=python3 export PYSPARK_DRIVER_PYTHON=jupyter export PYSPARK_DRIVER_PYTHON_OPTS='notebook --no-browser --port=8888 --allow-root' pyspark --master spark://<spark-master-node-name>:7077 # use the name of your spark master node for <spark-master-node-name>
- Jupyter Server 가 위와 같이 실행되었으면, 웹 브라우저를 이용해 접속 http://<spark-master-node-ip>:8888
Attachement: please copy this examples.zip to your working directory for testing your spark cluster.
